
Routing rules
A routing rule connects calls to their destination. It matches incoming calls based on their telephony details and routes them to the appropriate voice channel, bot, or other destination. Without a routing rule, a voice channel cannot send calls to a bot connection.
Each routing rule includes two parts: - Conditions that determine which calls the rule matches. - Actions that determine where matched calls go. A routing rule can also enable call recording, assign an assist bot, enable voice translation, or rewrite caller and destination numbers before the call reaches its destination.
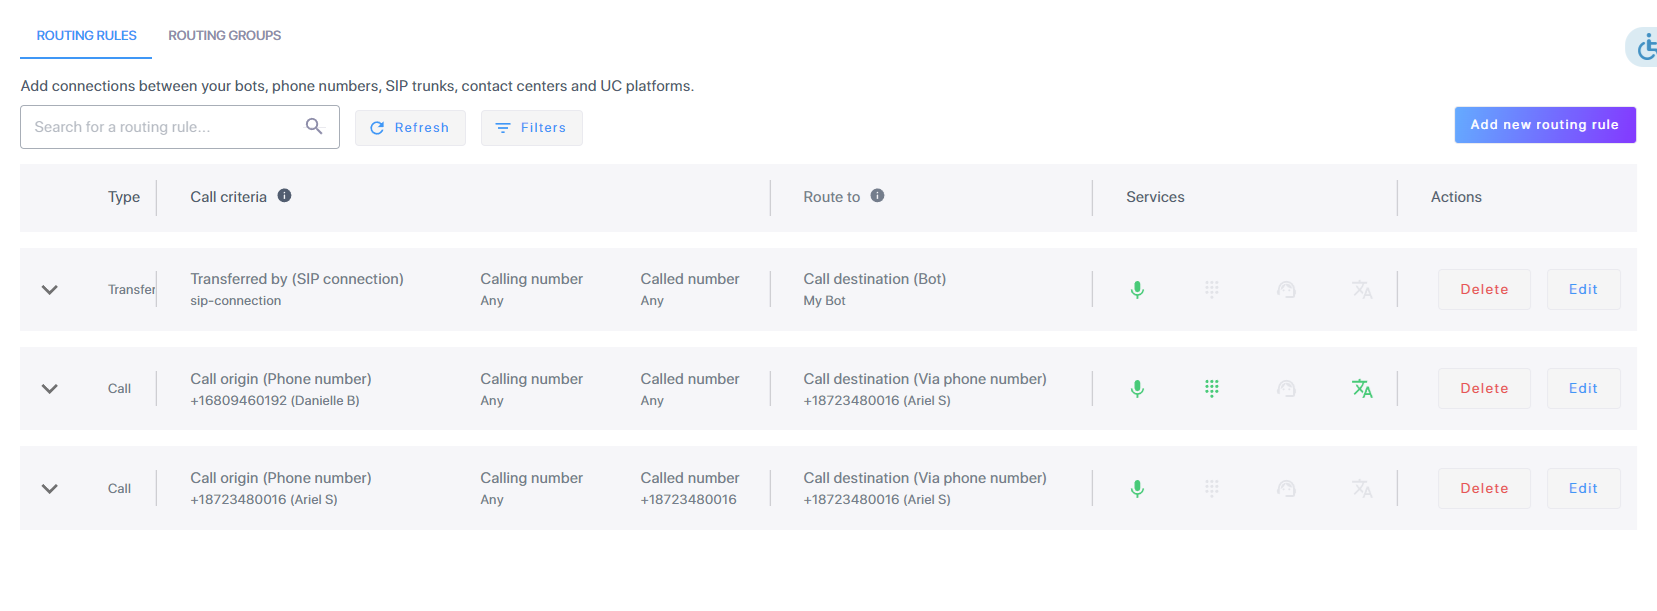
An account can contain up to 150 routing rules.
Parts of a rule
The following table describes the parts that make up a rule.
| Part | What it does |
|---|---|
| Live Hub region | Specifies the Live Hub region where the rule applies. |
| Origin | Specifies when the rule runs and where the call originated. Select Call to match incoming calls, or Transfer to match transferred calls. The available options depend on the selected type. |
| Conditions | Optional. Defines the criteria that a call must match. Optionally specify a calling number, called number, or both. If you leave these fields blank, the rule matches calls based only on the origin settings. |
| Route to | Specifies the destination for matching calls, such as a bot, phone number, or service number. Select Reject call to block matching calls. |
| Services | Enables additional services for matching calls, such as call recording, an assist bot, voice translation, and call initiator identification. |
| Number customization | Replaces calling, called, or service numbers before the call reaches its destination. |
| Tags | Adds labels that reporting and billing systems use to categorize calls. |
Add a routing rule
Before you can create a routing rule, both the source and destination must already exist. The source identifies where the call originates, and the destination identifies where the call is routed.
To add a routing rule:
-
In the Navigation pane, select Routing, and then select the Routing rules tab.
-
Click Add new routing rule.
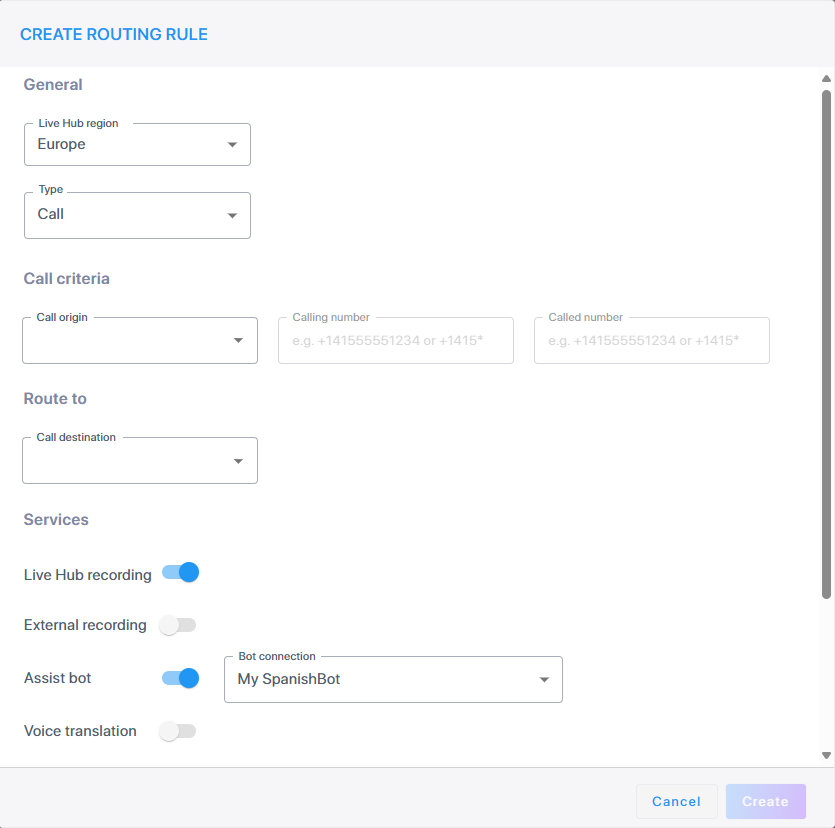
-
From the 'Live Hub region' drop-down list, select the region your Live Hub voice infrastructure runs in. See Global region support.
-
Under Origin:
- From the 'Type' drop-down list, select Call or Transfer. This decides the name of the next field.
- From the 'Call origin' drop-down list, or 'Transferred by' for a transfer, select what the call comes from.
-
Optional: Under Conditions, narrow the rule further with the 'Calling number' and the 'Called number'. Each can be a full number such as
+14155551234, a prefix such as+14155551*, or*for any number. Keep prefixes short on a SIP connection. Leaving both empty matches every call from the origin. -
Under Route to, from the 'Call destination' drop-down list, select where matching calls go. Select Reject call instead to block them. Services are unavailable when the destination is an assist bot.
-
Under Services, switch on what the call needs.
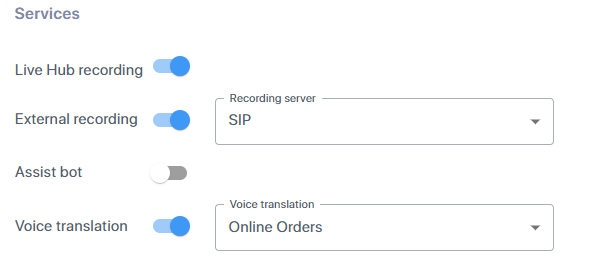
Service What it does Available when Live Hub recording Live Hub records the call. always External recording An external recorder records the call over SIPREC. Select the recorder from the 'Recording server' drop-down list. 'Type' is Call, and a Generic Recording Server exists. See Connect a recording server (SIPREC). Agent assist bot An assist bot listens in. Select it from the 'Bot' drop-down list. an assist bot exists. See Connect a bot. Voice translation The call is translated in real time. Select the translation from the drop-down list. a translation exists. See Create a voice translation. Agent assist bot and Voice translation are mutually exclusive: switching on either greys out the other.
-
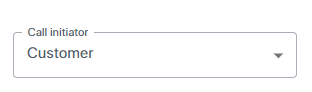
From the 'Call initiator' drop-down list, select Customer or Agent. This does not appear when 'Type' is Transfer.
-
Expand Number customization to rewrite the numbers. Leave a field empty to pass the original through.

- 'Customized calling number' — the caller ID the recipient sees.
- 'Customized called number' — the number the call is placed to. An original of
+14155551234can go out as+1445555555. - 'Customized service number' — overrides the SIP connection's service number, and only applies where that connection uses one.
-
Expand Tags, and then enter up to 50 characters in the 'Tag(s)' field to label this rule's traffic for reporting and billing.
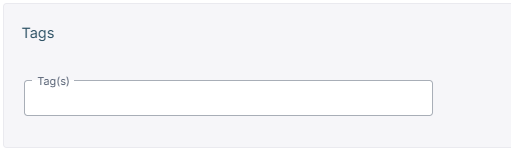
Tags apply to calls only, not to transfers.
-
Click Create.
The new rule goes to the top of the list.
Assist bot and voice translation across a transfer
You can enable assist bot and voice translation on both call rules and transfer rules. When you enable either feature on a transfer rule, keep the following behavior in mind: - To keep an assist bot or voice translation active after a transfer, configure the transfer rule with the same settings as the original call rule. - If only the transfer rule enables a feature, Live Hub applies the configuration from the transfer rule after the transfer. - If the transfer rule does not enable a feature, Live Hub stops the feature when the call transfers.
Find a rule
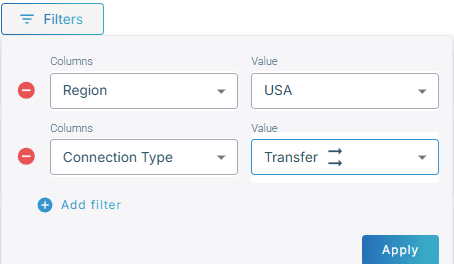
To filter the rule list, select Filters, select Add filter, and then choose a column and value, such as Region and USA. Add more filters as needed to further narrow the results. You can also use the search box at the top of the page.
View a rule's configuration
To view a rule's complete configuration, expand the rule row. The expanded view shows the enabled services, assigned region, and any number customizations.
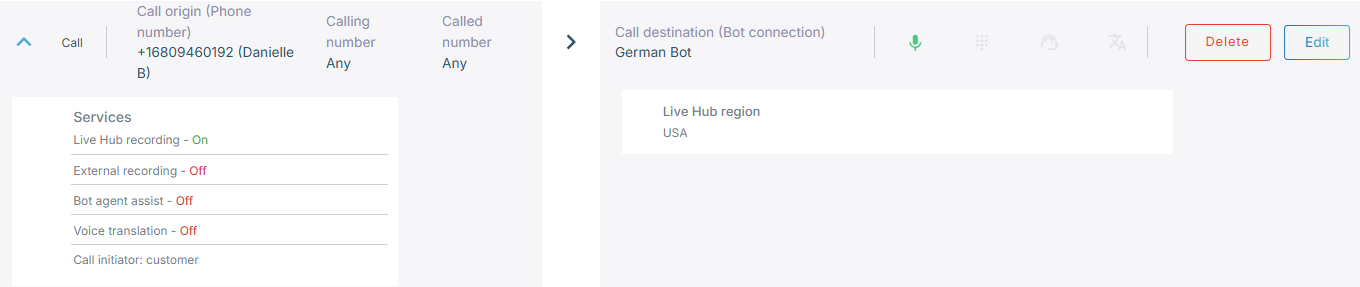
The Services column uses icons to show which services a rule enables. A green icon indicates that the service is enabled.
| Icon | Service |
|---|---|

|
Recording — Live Hub recording, external recording, or both |

|
Number customization — at least one number is overridden |

|
Assist bot |

|
Voice translation |
Edit or delete a rule
In the Actions column, choose one of the following options: - Edit: Update the rule settings, and then select Update. - Delete: Delete the rule, and then confirm the deletion.